How to Make a Board and Batten Wall and Entryway
Board and batten walls and entryways are a popular DIY project and a new way to add a paneling look to an otherwise plain wall. With its panels and seams, board and batten walls add dimension and interest with less effort than you might think. Some designers think board and batten walls are the natural successors to the popular shiplap look that took the home design world by storm a couple of years ago.

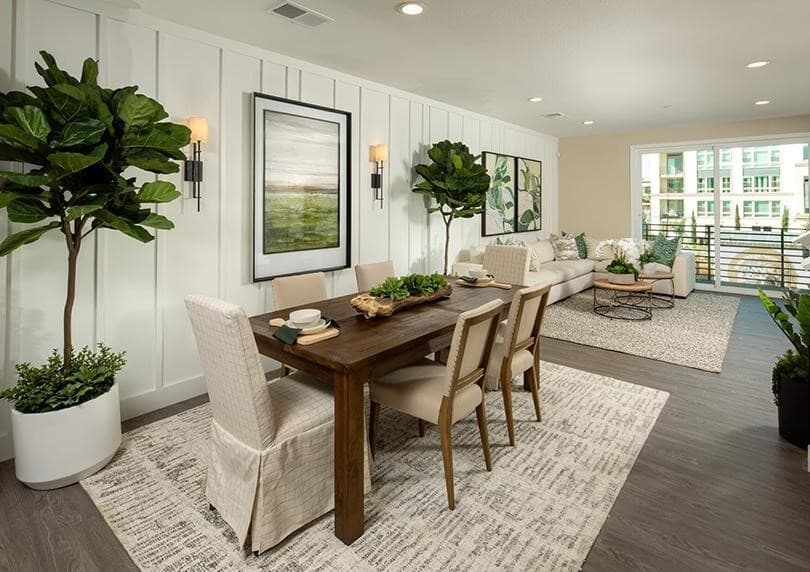
The main characteristic of board and batten accent walls are the wide panels nailed side by side, mainly vertically, with seams covered by narrow strips of wood, called battens. Because many barns were built using this method beginning in the mid-1800s, board and batten siding is sometimes called barn siding. With its informal feel, board and batten entryways and walls are comfortable and inviting.

Cypress Plan, Front Garage Collection at The Orchards, Edmonton, Alberta
Here is how you can add a DIY board and batten wall to any indoor surface:
What You’ll Need
Materials you’ll need to build a board and batten wall include:
- Caulk
- Drop cloth
- Industrial glue
- Level
- Painter’s tape
- Paint
- Paint brush, roller, and tray
- Panels
- Putty or wood filler and knife
- Spackle
- Stud finder
- Trim board
You’ll also need a miter saw or table saw and a nail gun with nails.
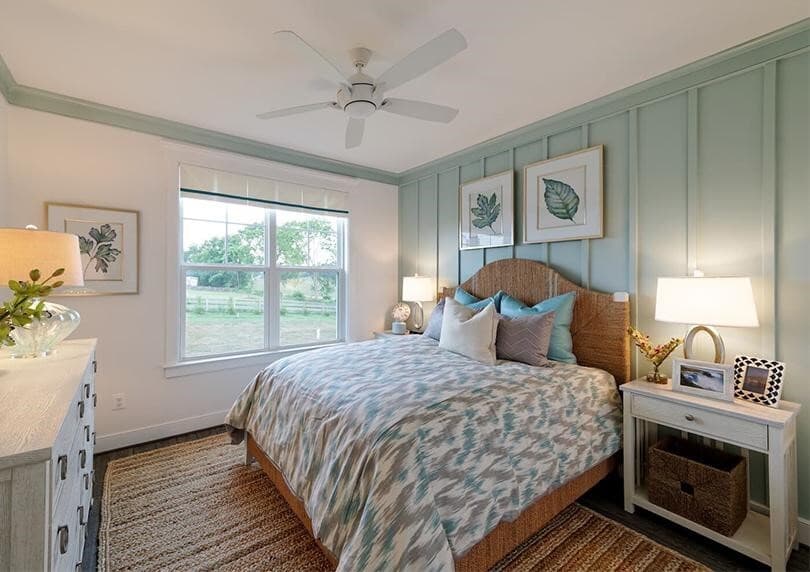
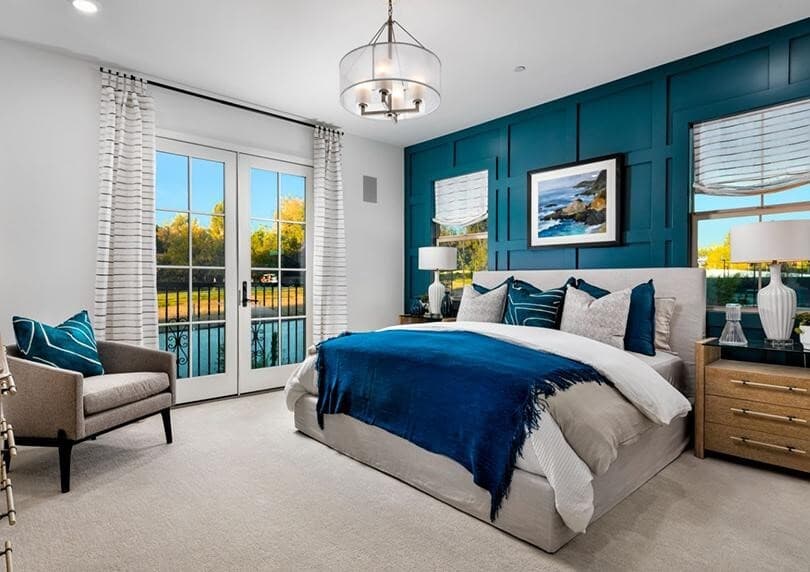
Weymouth Plan, The Reserve Collection at Waterford Manor, Leesburg, Virginia
Steps for a Board and Batten Wall
Here are the steps to take to build your own board and batten wall or entryway.
1. Visualize Your Project
You may need to visualize the completed project before starting it. Sketch out what you want the finished wall to look like, which will give you a better idea of where the boards should go. Decide how high up you want this accent to be—several feet up or all the way to the ceiling. Decide whether you want to keep your baseboards, install above them, or remove them entirely.
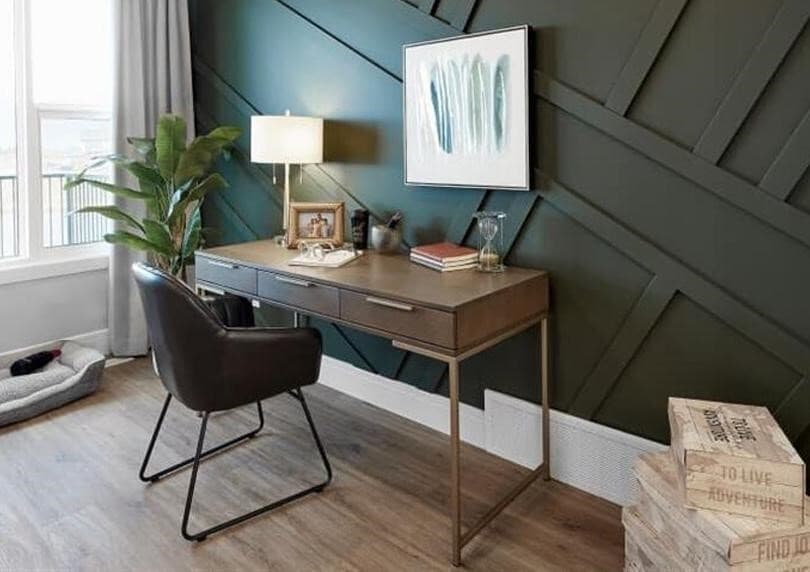
Hudson Plan, Front Garage Collection at Chappelle Gardens, Edmonton, Alberta
2. Prepare the Wall
Measure the wall and mark it according to your diagram. Boards and battens typically are set vertically but can also be installed horizontally, or in other patterns, such as a grid. Be sure to plan around built-in fixtures like electrical outlets and light switches. Remove baseboards if needed, using a utility knife to cut through any paint sealing them to the wall. Slide a putty knife in the space and then use a pry bar to pull the strip off your wall carefully to minimize wall damage. Patch any cracks or holes in your drywall with caulk or spackle.
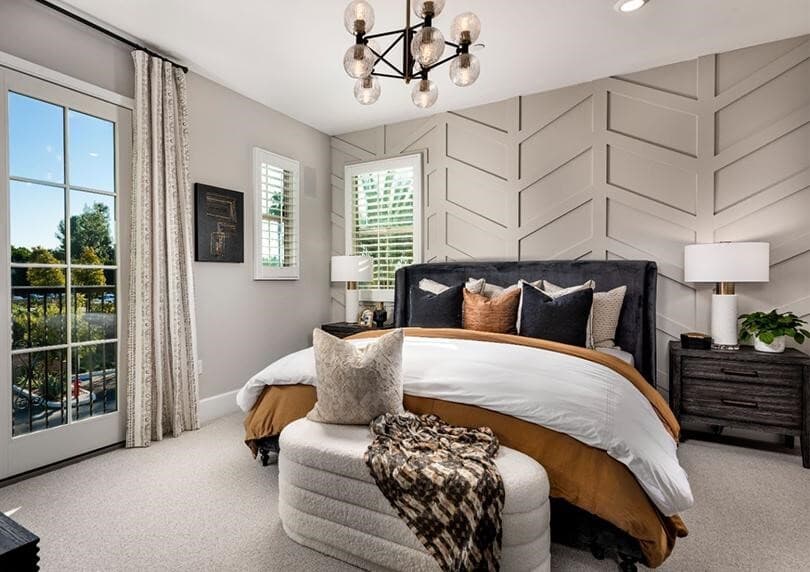
Plan 4Y, The Villas at Los Coyotes, Buena Park, California
3. Place Panels
Use a level to mark the panel installation line. Using a stud finder, mark the top and bottom spots you’ll need to install the panels. Cut with a miter saw to measurements. Also cut out locations of electrical outlets, if any. Nail each panel to the wall 8 to 12 inches apart on the studs, top and bottom. It’s recommended to place the middle panel first and then work out from there, to give the space an even look.
Note: Some versions of a board and batten wall omit panels. Decide whether you want a smooth finish that’s different from the existing wall or whether the current wall finish is sufficient for a faux board and batten look. The additional cost of panels may also be a deciding factor.
4. Place Horizontal Boards
Cut the horizontal boards to the correct length with a miter saw. Install the boards horizontally on the wall, using industrial glue to place them. Use a level to ensure the boards are straight. Then use a nail gun every 10 inches or so to ensure the board is fixed properly while the glue dries.
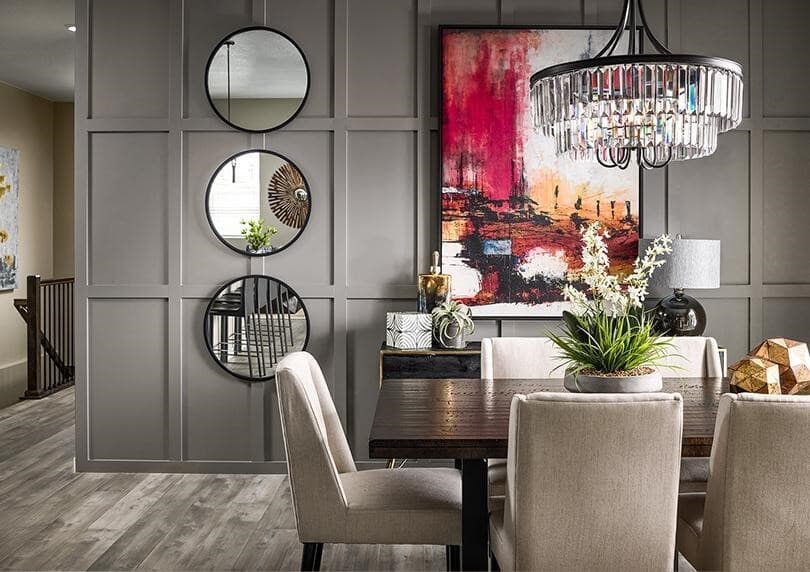
Mosaic 2, Mosaic Portfolio at Barefoot Lakes, Firestone, Colorado
5. Place Vertical Boards
These boards will be the height that you decided upon previously. Cut and place with industrial glue and then nails. Use a spacer to make sure the battens are placed evenly. If you’ve decided against panels, here is where you’ll start in the exact middle of the wall to place your vertical board to maintain an evenly spaced look.
6. Attach Top Board
This goes atop the battens, to finish off the look. Trim screws are a good way to secure these long boards.
Residence 1, Abbey Neighborhood at Boulevard, Dublin, California
7. Finishing Touches
Caulk the batten seams along the vertical length by starting at one end and working in a continuous direction. Drag a finger along the edge to seal the joint. Fill all remaining nail holes with wood filler, putty or excess caulk. Sand and smooth the surface of the wall. Tape off the edges with painter’s tape and lay down a drop cloth. Apply a couple of coats of paint or stain to finish the project.
8. Creating an Entryway
For an entryway, follow the steps above. Plans, measurements, and cutting may differ when dealing with a smaller space or a staircase along the wall, which will have to take into account angles and cuts with a miter saw. Add hooks, shelves, and other elements to create an attractive spot with extra storage.
Plan 3Y, The Villas at Los Coyotes, Buena Park, California
DIY Projects Create Inviting Spaces
Projects such as DIY board and batten walls can create more depth and substance to a room. The steps aren’t too complicated or time-consuming and can be completed in a day. Add creativity with panels, grids, colorful paint or storage hooks and shelves that will complete the look.
We encourage you to try this DIY project to help you create a home uniquely yours. Check out the Brookfield Residential blog for more design and project advice, homebuying insights, mortgage tips, and more. If you’re ready to purchase a home, connect with our team to learn more. We'll be expecting you!
